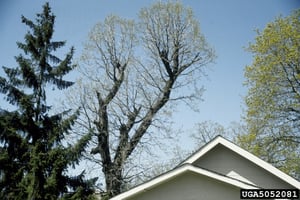
With all the heavy rains and strong winds in the St. Louis area lately you have probably noticed...
Tree care is an ongoing process that begins the first year of planting and is continued throughout the life of the tree. You don’t need to have a certified arborist for each cut on your trees.
If you are in good health, there are pruning cuts you could make yourself. However, there are proper techniques we hope you keep in mind.
Steps to DIY pruning:
-
Evaluate your own shortcomings and strengths.
- Should you be pruning your own trees? There are deaths and injuries every year by homeowners pruning their trees. Please be careful and aware of dangers in your yard.
- The pruning of mature trees typically requires the removal of large heavy branches, leave your DIY cuts to the smaller species and less mature trees. Proper maintenance of these young trees will lead to a healthy-growing mature tree that will likely require less drastic cuts in the future.
2. Types of cuts for DIY pruning
- Cut off root suckers and sprouts in the crown. These cuts are straight forward and make a big difference in appearance.
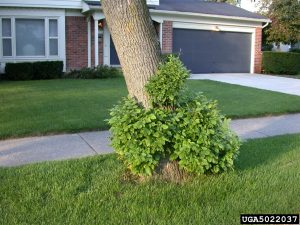
Root suckers. Pennsylvania Dept of Conservation. Bugwood.org
- Thin excessive branches to reduce competition for light, water, and nutrients.
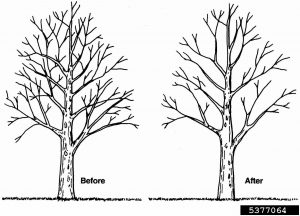
Crown-thinning-pruning. International Society of Arboriculture. Bugwood.org
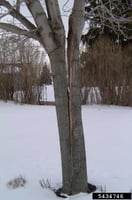
- Remove codominant leader.
- This can be one of the most important cuts for your less mature trees. When two branches are attempting to be the leader, the form of the tree is negatively affected and can cause more serious issues later in the tree’s life. Choose the leader that looks to be more straight and strong. The picture below shows a tree that could have used a pruning when it was younger to avoid the codominant stems.
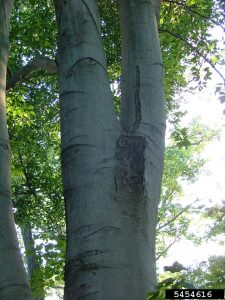
Jason Sharman, Vitalitree, Bugwood.org
- Eliminate branches that rub or growing in undesirable direction.
- Remove narrow angled branches.
3. Making the cut and tips to remember:
- Once you have assessed your tree for the kind of cuts to make (and assembled tools AND protective gear), you are ready to start.
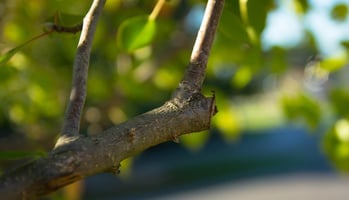
- Depending on the size of the branch you are removing, it may be best to make a couple cuts. First reduce the branch starting near the tip, then make your cut closer to the trunk. Your last cut is important to keep close to the trunk, but not too close. Notice the area where the branch flares as it meets the trunk, the branch collar. This should still be slightly visible once the cut is made. The position of the cut below is perfect.
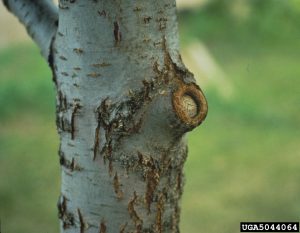
Joseph OBrien, USDA Forest Service, Bugwood.org
- Never remove more than 1/4 of the tree’s crown during a season. If you think your tree needs drastic work, it may be better to do so in stages or contact a professional arborist.
- Remember that different species of trees can have varying growth patterns. Some species, like Redbud or River Birch, will have multiple trunks. Other species like an Oak, do not have multiple stems. Do some research on your trees to learn more about their natural growth habits.
- Certified arborists do use ladders to reach heights in trees. This practice is done with experience and can be very dangerous for homeowners. Please use extreme caution when deciding to use a ladder on uneven surfaces while adding the weight of branches and sharp tools.
Want to learn more? The Arbor Day Foundation has an interesting virtual guide to pruning. Check it out HERE.
In over your head? Contact us today for a free estimate. We care about maintaining the trees on your property. Let’s keep St. Louis Growing Green!